本文为项目"步步为营, 零秒精通Emacs"
之
Appendix D: Email Management
- Sending Mails from QQ.com
- Rmail
- Gnus: 1.Fundermental Configuration
- Gnus: 2.Concepts
- Gnus: 3.Group Buffer
- Gnus: 4.Summary Buffer
- Gnus: 5.Article Buffer
- Gnus: 6.Completed Configuration in Progress
1.Sending Mails From @qq.com
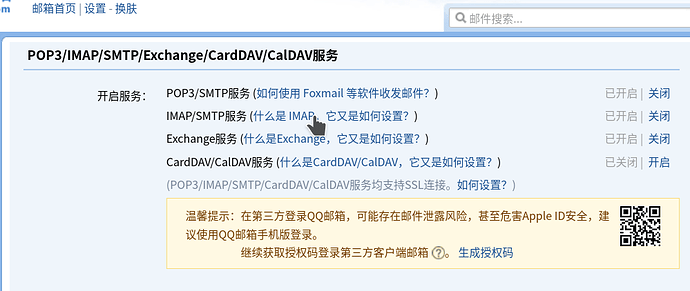
从qq邮箱的设置中开启SMTP等服务
Config SMTP
从.emacs中添加配置:
(setq message-send-mail-function 'smtpmail-send-it)
(setq user-mail-address "[email protected]")
(setq user-full-name "abst.proc.do")

(setq smtpmail-smtp-user "[email protected]"
      smtpmail-smtp-server "smtp.qq.com"
      smtpmail-smtp-service 465
      smtpmail-stream-type 'ssl)

;;Debug
(setq smtpmail-debug-info t)
(setq smtpmail-debug-verb t)
Authorization
短信获取qq邮箱的授权码后, 新建文件 .authinfo
machine smtp.qq.com login [email protected] password 授权码(比如abcd等)
配置文件中添加
(require 'auth-source);; probably not necessary
(setq auth-sources '("~/.authinfo" "~/.authinfo.gpg"))
;;(customize-variable 'auth-sources) ;; optional, do it once
Testing
此时完整的配置文件为:
;;Sending Email

(require 'auth-source);; probably not necessary
(setq auth-sources '("~/.authinfo" "~/.authinfo.gpg"))
;;(customize-variable 'auth-sources) ;; optional, do it once

(setq message-send-mail-function 'smtpmail-send-it)
(setq user-mail-address "[email protected]")
(setq user-full-name "abst.proc.do")

(setq smtpmail-smtp-user "[email protected]"
      smtpmail-smtp-server "smtp.qq.com"
      smtpmail-smtp-service 465
      smtpmail-stream-type 'ssl)

;;Debug
(setq smtpmail-debug-info t)
(setq smtpmail-debug-verb t)
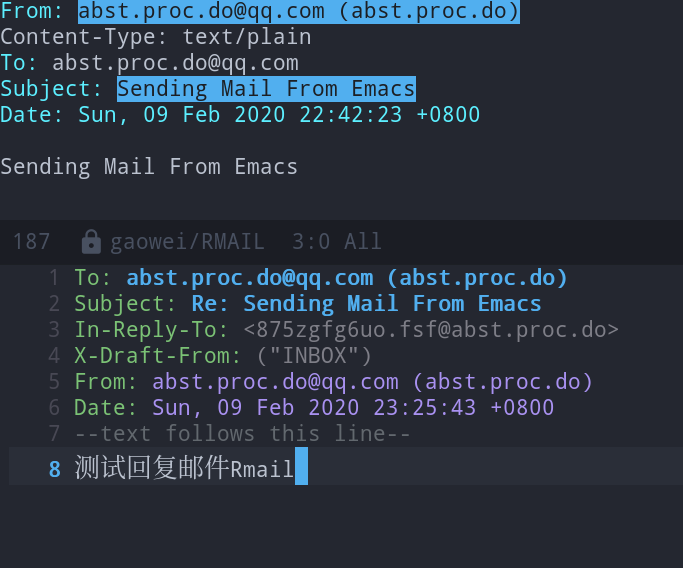
C-x m (Compose-mail)
C-c C-c (message-send-and-exit) 提示发送成功后, 检查qq邮箱.
上述冗余配置能保证邮件发送百分百成功.
Mail Commands
-
C-c C-c Send the message, and bury the mail buffer (
message-send-and-exit). -
C-c C-s Send the message, and leave the mail buffer selected (
message-send). -
mail-from-stylep-parensUse both address and full name, as in: '[email protected] (Elvis Parsley)'.
小结
先发出去邮件, 后面的操作便能水到渠成 Emacs Manual的32.Sending-Mail有六个小节.
- 32) Sending Mail
- 32.1 The Format of the Mail Buffer
- 32.2 Mail Header Fields
- 32.3 Mail Aliases
- 32.4 Mail Commands
- 32.5 Mail Signature
- 32.6 Mail Amusements
2.Rmail
Experience movemail
Rmail的后端调用movemail, 因此先手工体验一般movemail
sudo apt-get install mailutils
命令行中运行
movemail -v 'imaps://abst.proc.do:授权码@imap.qq.com:993' ~/RMAIL
或者在 .bashrc 中alias
alias rmail="movemail -v 'imaps://abst.proc.do:授权码@imap.qq.com:993' ~/RMAIL"
运行后
$ rmail
movemail: number of messages in source mailbox: 1
movemail: number of processed messages: 1
movemail: number of errors: 0 / 0
View RMAIL File
此时查看Rmail文件
cat ~/RMAIL | head -20
读到的是普通的文本, 而且decode也有问题, 重置 rmail-file-coding-system
(setq rmail-file-coding-system t)
然后在 ~/RMAIL 中启动 rmail-mode,
邮件的基本操作:
-
Moving Among Mails
- n 查看下一封邮件
Move to the next nondeleted message, skipping any intervening deleted messages (
rmail-next-undeleted-message).- p 查看上一封有家
Move to the previous nondeleted message (
rmail-previous-undeleted-message). -
Reply Mails
- m
Send a message (
rmail-mail).- c
Continue editing the already started outgoing message (
rmail-continue).- r
Send a reply to the current Rmail message (
rmail-reply).- f
Forward the current message to other users (
rmail-forward).- C-u f
Resend the current message to other users (
rmail-resend).- M-m
Try sending a bounced message a second time (
rmail-retry-failure).
Manually Rmail workflow
总结以上手工Rmail的工作流: 由于配置 .bashrc
alias rmail="movemail -v 'imaps://abst.proc.do:授权码@imap.qq.com:993' ~/RMAIL"
因此可以
- 从shell中运行rmail, 更新收件箱
~/RMAIL, - rmail-mode模式下查看
~/RMAIL
Automatic Rmail
将Rmail workflow的第一步合并进第二步中, 从配置中添加:
;; Reading Mail
(setq rmail-primary-inbox-list
      '("imaps://abst.proc.do:授权码@imap.qq.com:993")
      )
(setq rmail-movemail-program "/usr/bin/movemail")
load-file后, M-x rmail 运行的message
new messages...done (1)
Saving file /home/gaowei/RMAIL...
Wrote /home/gaowei/RMAIL [2 times]
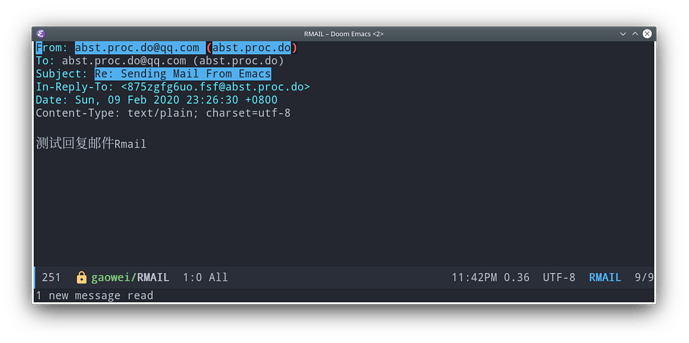
1 new message read
Quit
小结
Sending Email与Rmail, 可以应用Emacs自如的收发邮件, 但并不能有效的管理邮件.
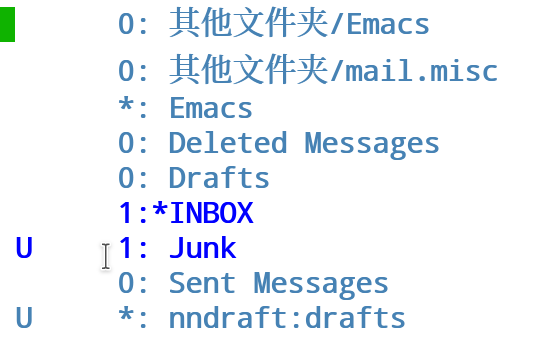
对邮件进行管理需要引入更加便利的自动化工具gnus
